Moving and Storage In Chappaqua

3 Steps To Saving Time And Money With Moving and Storage
Our 3-step process will have your moving and storage secured in 8 minutes.
Step 1: List of items to store and when you need to store them.
Step 2: Internal network search matches the best storage unit for you.
Step 3: Arranging a moving truck or van and assigning your own privately accessible self-storage room.
We’ll walk you through the entire 3-step process in 8 minutes, either in person or over the phone.
Moving and Storage Professionally Trained and Experienced Staff
Our staff has years of hands on experience with thousands of moving and storage rentals under their belt.
Long Distance
Relocating outside of Westchester County ? Ask your advisor to connect you with one of regional moving partners.
Moving Supplies
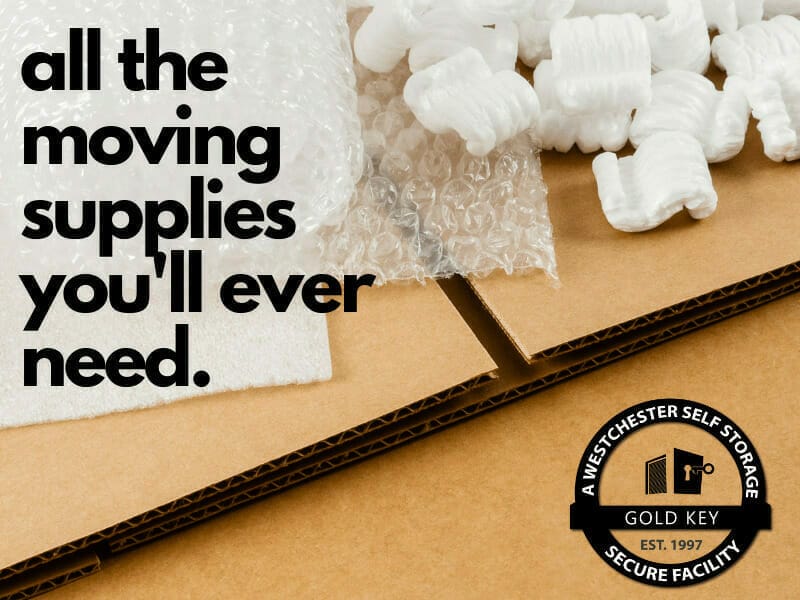
Our facility is stocked with all the moving and storage supplies you’ll ever need. Over the phone or in our office, we’ll help make sure you have the correct boxes and packing materials.
Among the items readily available: dollies, carts, packing tape, boxes and bubble wrap.
Moving And StorageTruck Packing
Step 1 – Using The Truck’s Back Wall
Use the back wall to create stacked rows of boxes moving forward toward the door. Continue stacking boxes moving from the back wall forward toward the door.
Step 2 – Use Side Walls For Mattresses and Box Springs
Use the side walls to stand mattresses and boxsprings upright upon their sides.
Step 3 – Use Mattresses To Cushion Mirrors
Use mattresses to stand mirrors upright between them.
Step 4 – Protecting Your Furniture
Moving and storage blankets should be used to protect your furniture. Plastic wrap creates a barrier which restricts airflow, so use moving blankets.
Step 5 – What Goes In Last Comes Out First
Load the items you need first, into the truck last.

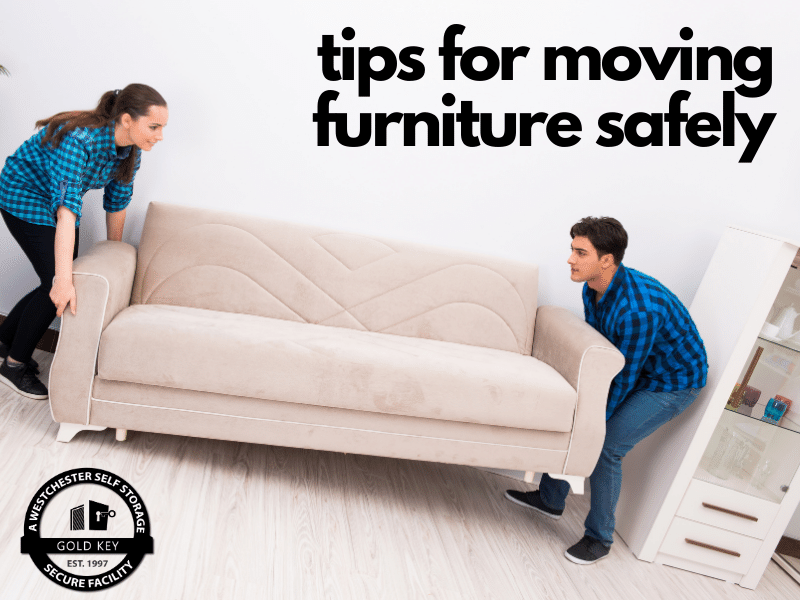
Moving And Storage Tips For Your Furniture
Step 1 – Empty Drawers And Remove Shelves
Emptying the contents of drawers and removing shelving and doors not only makes furniture lighter to move, it also helps prevent damage.
Step 2 – Padding
Use moving pads to wrap the furniture and secure them with packing tape.
Step 3 – Legs
Furniture legs should be removed if you can. Be sure to place the legs and the associated hardware in a plastic bag, plastic wrap or newspaper and label them.
All About Boxes
Number each box.
Label each box with your last name and box number.
On an 8.5” x 11” sheet of paper make columns for
- the box number
- the box contents
- the room the contents go in OR
- the season

Hassle Free Moving and Storage of Your Fridge
Step 1 – Defrosting and Cleaning
You’ll need to defrost and clean your refrigerator before moving it. To do so, open the doors after unplugging it. Discard the contents. Scrub the inside using a mild abrasive and household cleaner.
Step 2 – Remove Or Secure Shelves And Drawers
Remove shelves and drawers or secure them by taping them down. Keep the doors open slightly to permit airflow.
Step 3 – Use A Strong Dolly
Use an appliance dolly to move the fridge onto the truck and into the storage unit. If you need help locating one, please give us a call.
Free Downloadable Packing Guides
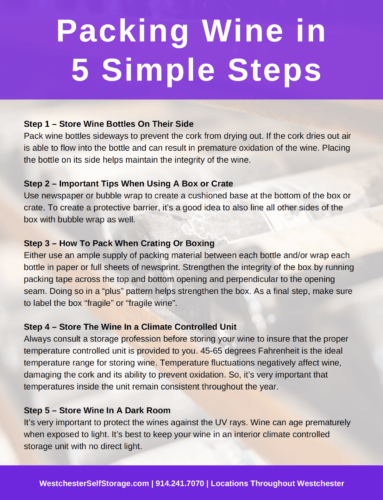
Step 1 – Storing Bottles
Bottles should be stored on their sides to prevent the cork from drying out.
Step 2 – Boxing And Crating
Use newspaper or bubble wrap to create a base at the bottom, top and between bottles to cushion them.
Step 3 – Packing
- Use packing material between each bottle to cushion them.
- Run packing tape across the top and bottom opening and perpendicular to the opening seam.
- This “plus” pattern you’re creating helps strengthen the box
- The final step is to label the box “fragile wine”.
Step 4 – Climate Controlled
Temperature fluctuations negatively affect wine, damaging the cork and its ability to prevent oxidation. So, it’s very important that temperatures inside the unit remain consistent throughout the year. Climate controlled storage provides the ideal storage conditions.
Step 5 – Darkness
Wine can age prematurely when exposed to light. Climate controlled units are interior storage units with no direct light.
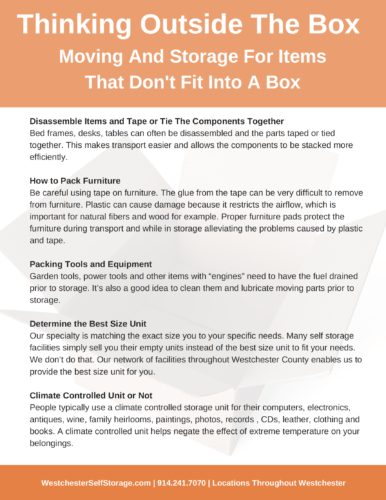
Components Should Be Taped Together
Bed frames and parts should be taped together to make transporting and stacking them easier.
Furniture
Use furniture pads rather than plastic wrap to protect the furniture during transport and while in storage.
Power Tools And Equipment
Draining the fuel before storing them is critical.
Unit Size
If you’re storing a number of items that aren’t boxed, you may need a uniquely configured unit. The more you can tell us about your storage plans, the better suggestions we can offer. We’ll work with you to find the ideal unit in our network of Westchester locations.
Selecting A Climate Controlled or Standard Unit
Climate controlled storage units are the preferred choice for items that need to be stored in a year-round moderated temperature. We’ll discuss your storage needs to help determine if a climate controlled unit offers the best solution for you.
Step 1 – Begin With Sturdy Box
It’s important that the box keep its shape to help cushion your glassware.
Step 2 – Cushion The Top And Bottom Of Each Box
Use newspaper or bubble wrap to establish a protective barrier.
Step 3 – Roll Each Glass In Newsprint
- Open the newspaper from the center
- Place the glass in a corner
- Start rolling the glass diagonally in a few sheets
- Tuck in the extra paper into the top of the glass
- Tuck the extra paper on the bottom into itself as you continue to roll the glass.
Step 4 – Use Cardboard
- Use cardboard to create separation between the glasses
- use cardboard to create stackable layers of glasses
Step 5 – Tape And Label The Box
- Tape the box by running packing tape across the top and bottom opening and perpendicular to the opening seam.
- Doing so creates a “plus” pattern
- This strengthens the box.
- Label the box “Glassware”.

